Kit Wraps Assembly Guide
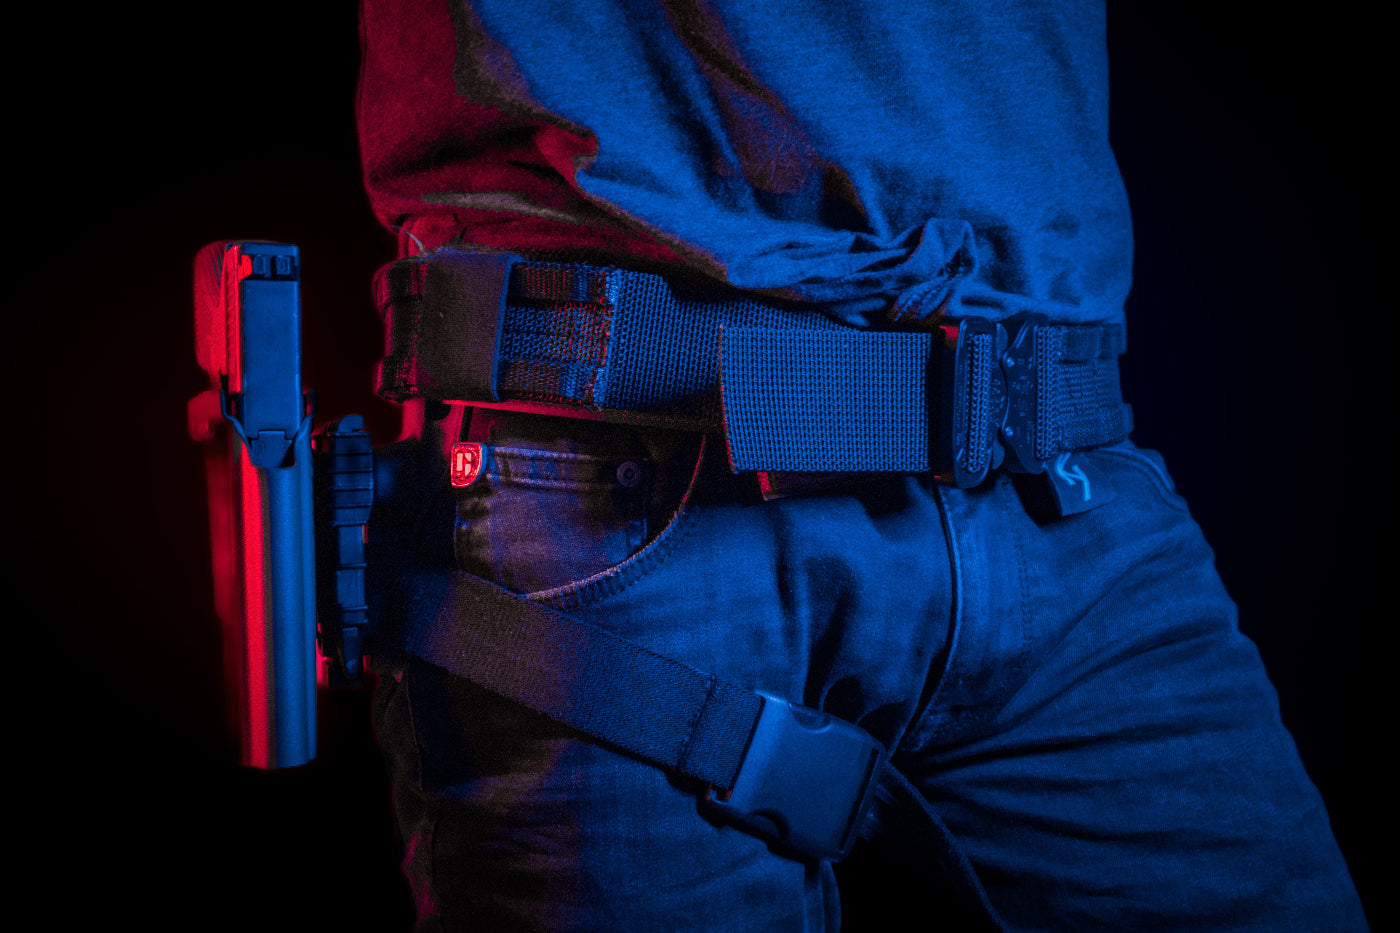
Our kit wraps are designed and manufactured in-house. They’re made from either 1000D or 500D Cordura Fabric and we utilize the same adhesive as we do on our fabric-wrapped Kydex products. This means that your kit wrap will withstand any wear and tear and won’t peel off in any weather condition.
Our kit wraps are available in all of our Cordura fabric options.
If during use, you have any issues with the function of the Kit Wraps, do not hesitate to contact us through the form on this website or email us at Sales@kydexcustomsuk.com
Application Instructions
-
Prepare the Application Area
-
Ensure the surface is clean and dry.
-
(Optional) Use an alcohol wipe to clean the area and allow it to dry completely before proceeding.
-
-
Remove the Wrap Pieces
-
Carefully peel the wrap from the paper backing. It may be easier to lift the wrap off the backing rather than trying to remove the backing from the wrap.
-
Since the adhesive is fully transparent, take care not to separate the fabric from the adhesive during removal.
-
If separation occurs, simply press the fabric back onto the adhesive and apply firm pressure to reactivate it.
-
-
Apply the Wrap
-
Start at one edge of the application area. Once you're satisfied with the alignment, begin applying pressure while wrapping the rest of the piece into place.
-
-
Repositioning (If Needed)
-
If the initial placement isn’t perfect, carefully peel off the wrap and reapply.
-
The adhesive remains effective for multiple adjustments during the initial application.
-
Once fully cured, removal will be more difficult but still possible.
-
While this product is intended for one-time use, it may be reusable if removed cleanly.
-
-
Secure the Wrap
-
Once you’re satisfied with the fit, apply firm, even pressure across the entire wrap to ensure strong adhesion. (This adhesive is pressure-activated.)
-
-
Finishing Touches
-
If you notice any fabric frays or loose threads, carefully singe the edges with a lighter or torch. Avoid direct flames to prevent burning or damage.
-
-
Final Check
-
Take a moment to admire your new optic wrap! Your tactical gear is now protected with high-quality, mil-spec materials.
-
Additional Tips
-
Our kit wraps are precisely cut, so they should fit perfectly. If something seems off, try repositioning it before the adhesive fully cures.
-
If you need help, consult the product images to determine where each piece should go.
-
If you're still having trouble, reach out to us—we’re happy to assist!